
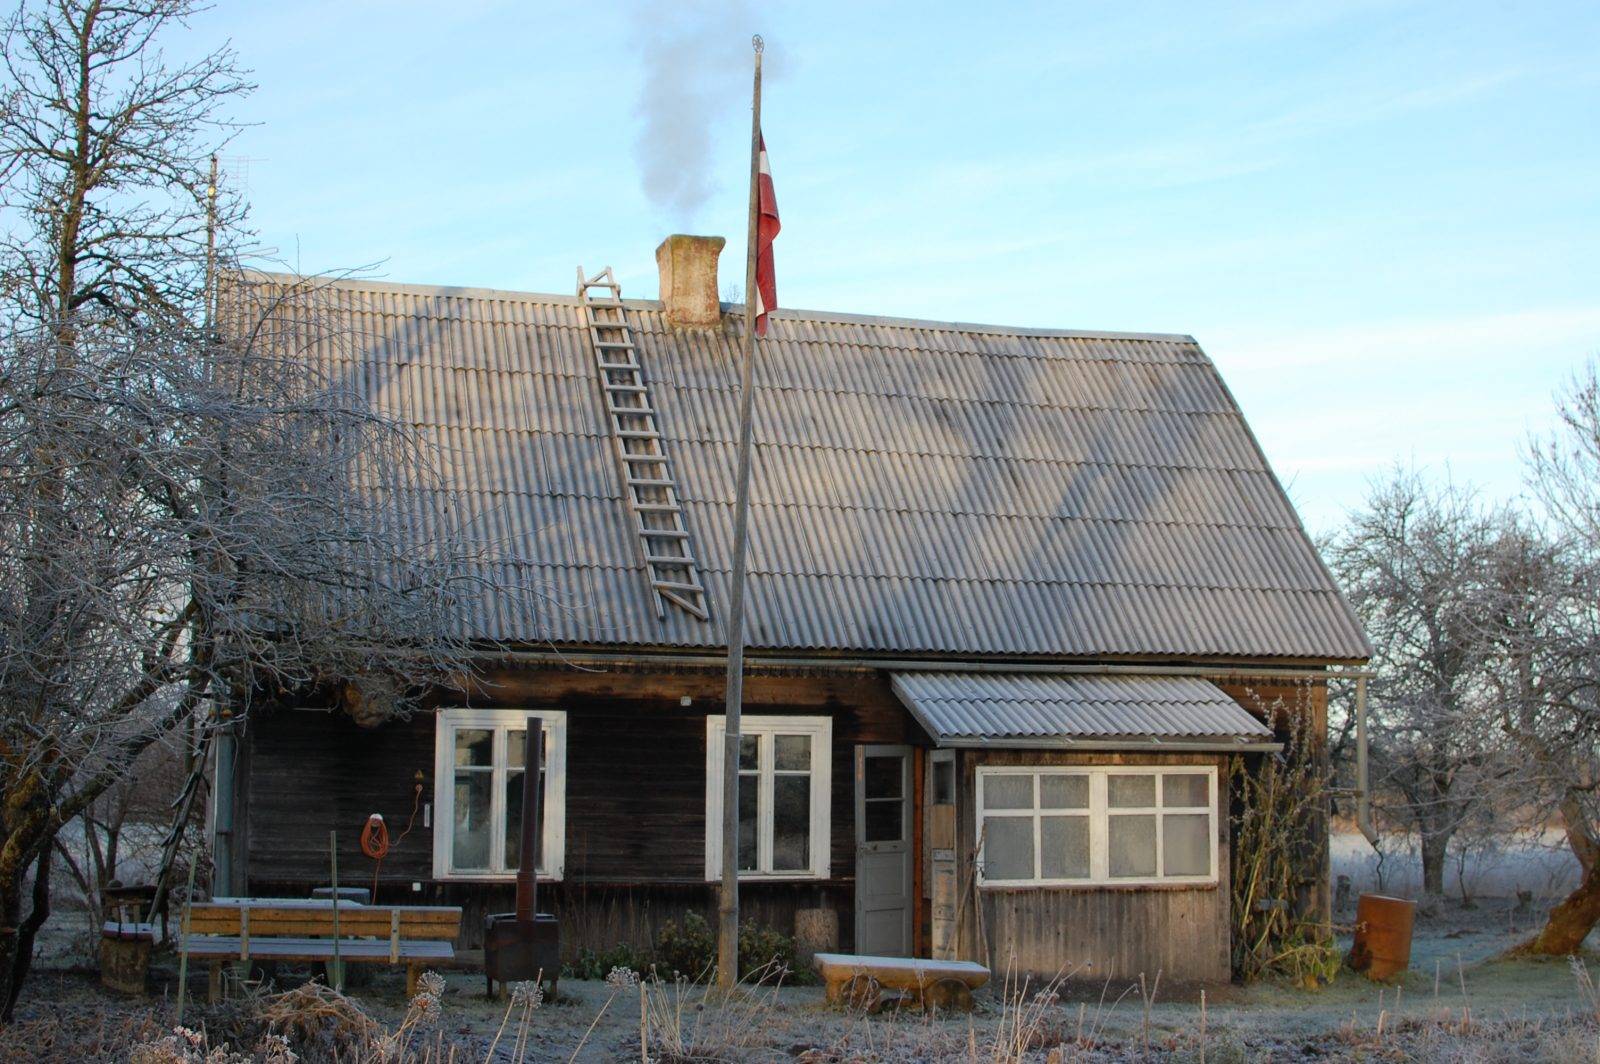
The weather has cooled off in Latvia and it was finally time to try baking bread in the bread oven at our house in the country (“Stiebriņi”).

First, some background. The house has two masonry stoves: a tall one between the two bedrooms just for heat (pictured above — it doesn’t have its final coat of paint yet), which keeps its heat all night long, and a traditional Latgale-style bread oven (I’ll have a picture soon). The bread oven is a three-in-one deal: the actual bread oven, an adjoining masonry stove/wall between two rooms for heat, and a cooking hearth at the mouth of the bread oven. The bread oven is a massive square brick construction (about 4 feet x 4 feet x 4 feet, although the actual oven cavity is only about a foot or so high, which means 2.5 to 3 feet of solid heat-absorbing brick) that juts into the kitchen on the other side of the wall. Basically, it’s a small version of a traditional Russian oven and is the heart of the house.
The top of the bread oven is considered the best place in the house. When it heats up, it gets very toasty and was the favorite place for children and cats to spend cold, wintery nights. But, it takes a looong time to heat up. We were already done baking before we felt the mass of brick start to get a little bit warm. If we lived there full-time, baked bread once a week, and kept the channels and chimneys warm all the time…maybe it would stay more or less warm all winter.
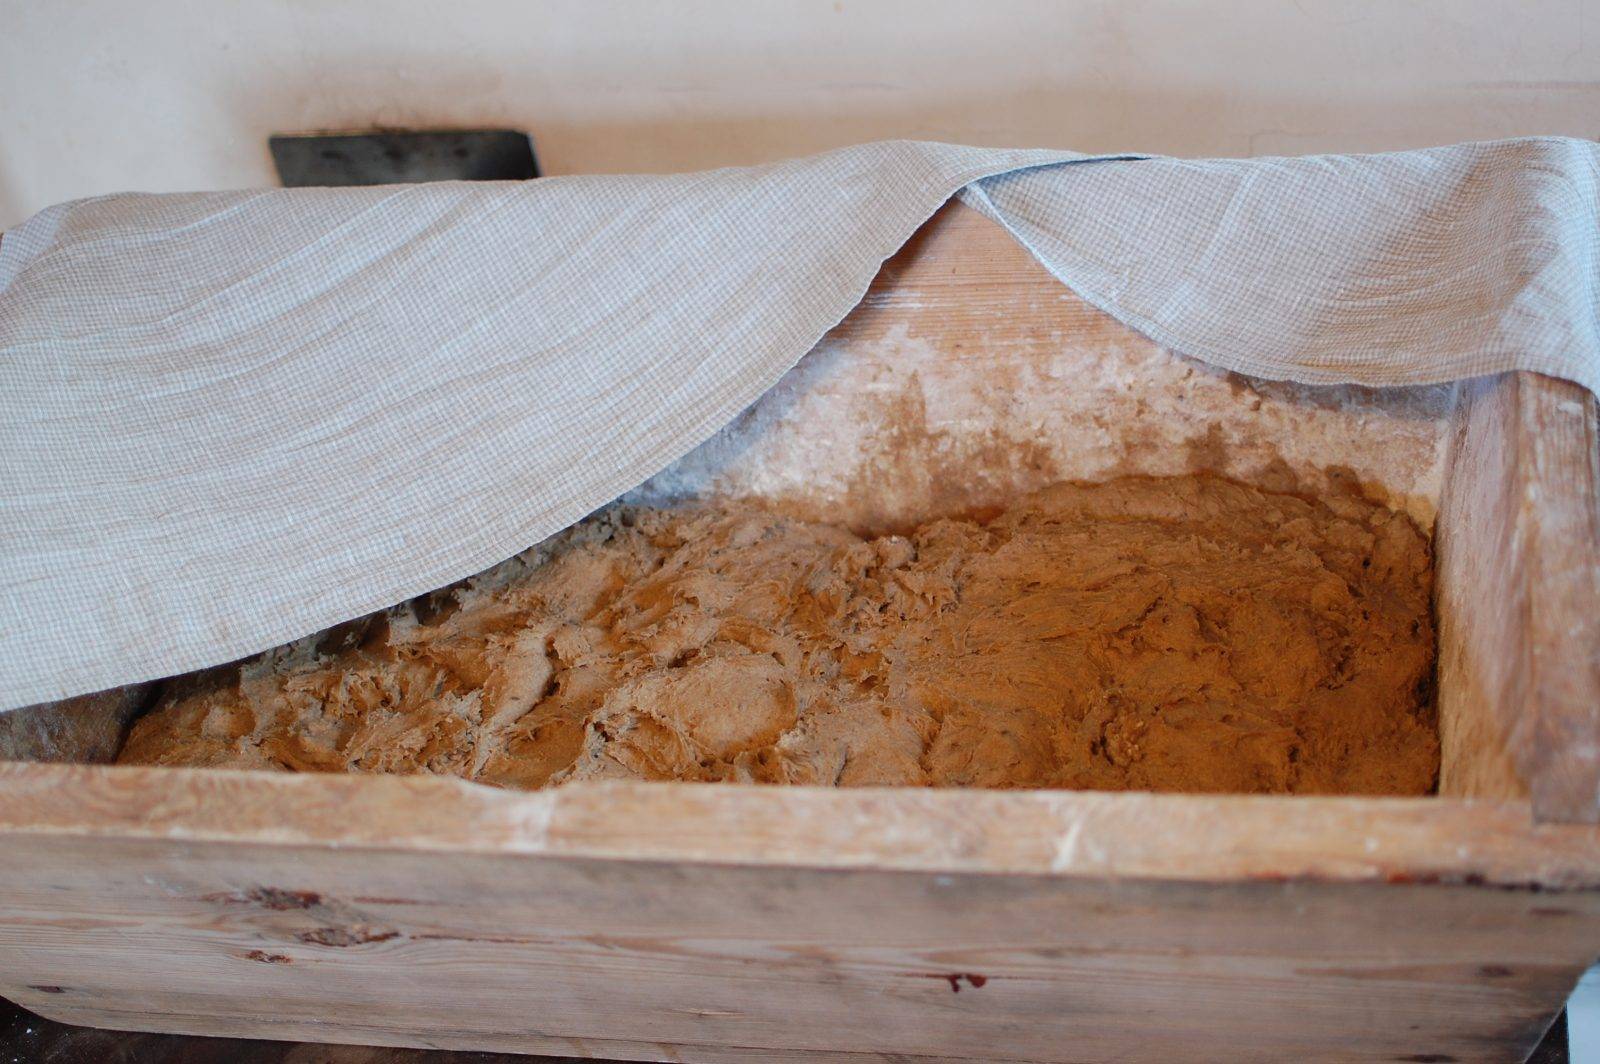
About a week before baking, I made a rye sourdough starter: just rye flour and water and a few crushed caraway seeds, left to ferment at room temperature, and “fed” additional water and flour every day. The result was a soupy, suspiciously fragrant mix that would later be added to the dough to make it rise. The night before baking I scalded rye flour with boiling water, beat it well, and when it had cooled down, added the sourdough starter.
This was all done in a wooden kneading trough, called an abra in Latvian. This particular abra is from the huge flea market in Ikšķile [http://aak.lv/senlietu-kolekcionaru-un-restauratoru-diena/]. It was the first time I had used a real abra, and I’m sold on it. It was very comfortable and practical for mixing and kneading. I then covered the abra with a couple of towels, set it on the bench next to the warm masonry wall, and left it there overnight to gurgle and rise. The picture above is what it looked like the next morning — risen and with air bubbles. Smelled good, too.
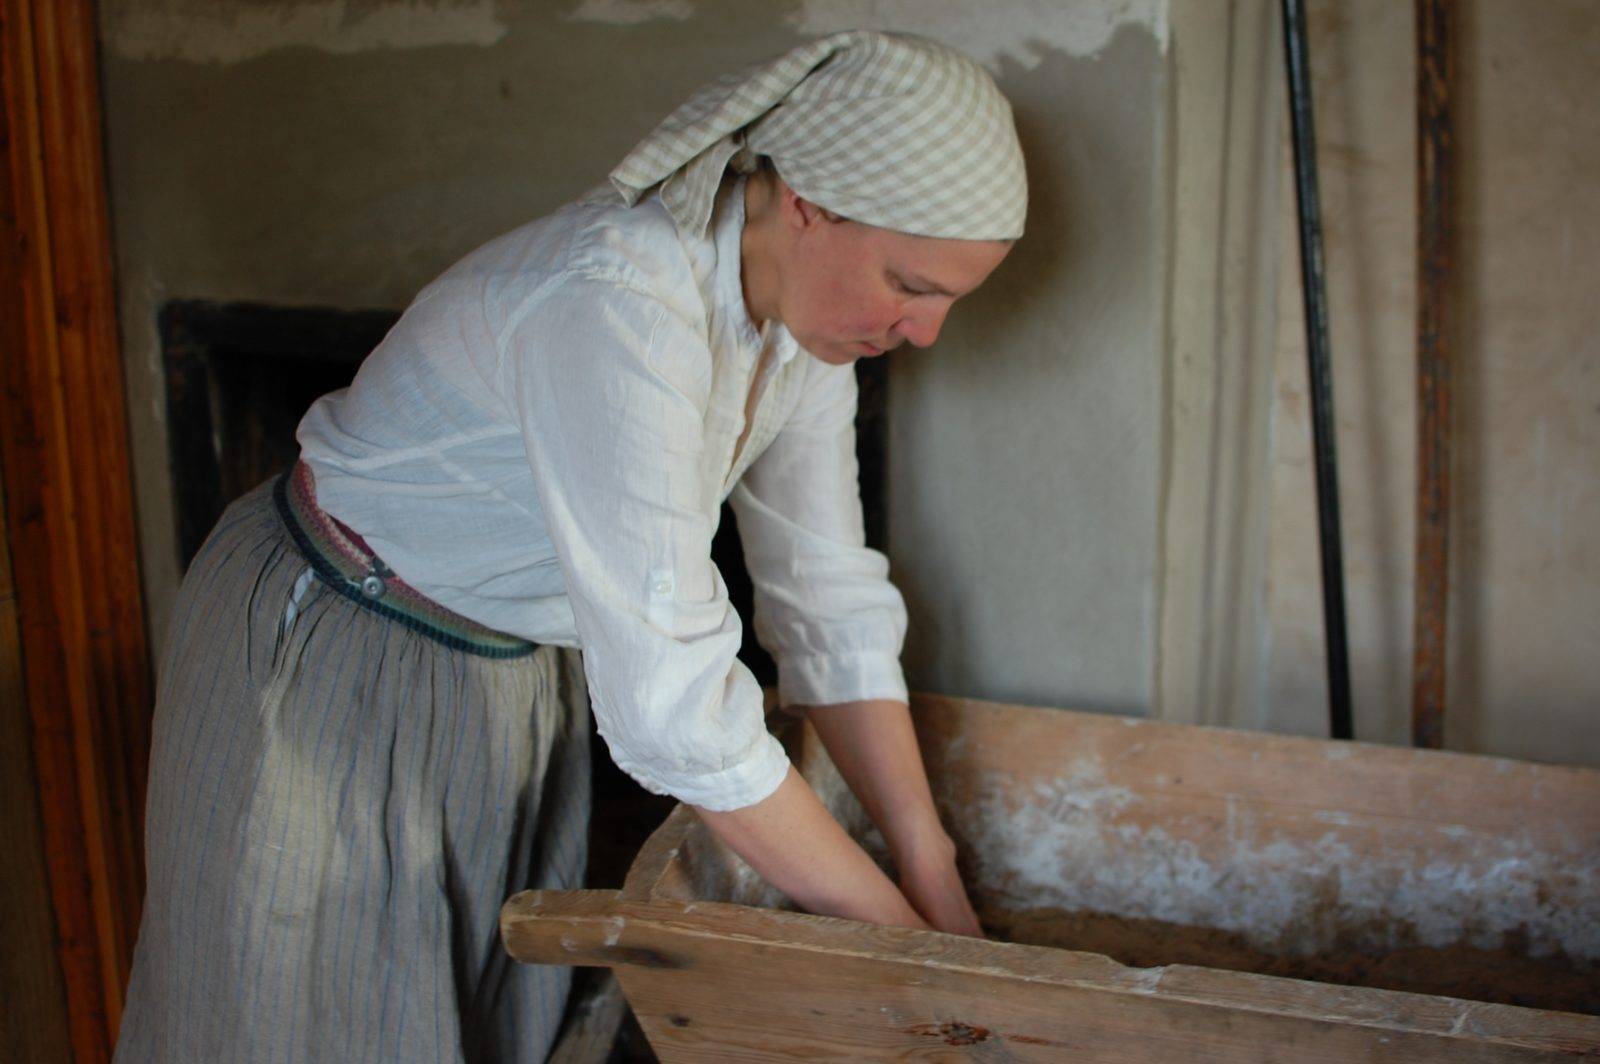
The next day I mixed in the salt, sugar, caraway seeds and the rest of the flour — a combination of rye and regular white wheat flour — and kneaded until I was sweating and the dough began to “speak”, as my aunt taught me to do. Well, this time it was just starting to whisper…but kneading is hard work. Again, I covered the abra with a couple of towels and placed it next to the warm masonry wall (seen in the background in these three pictures) to keep warm and rise.
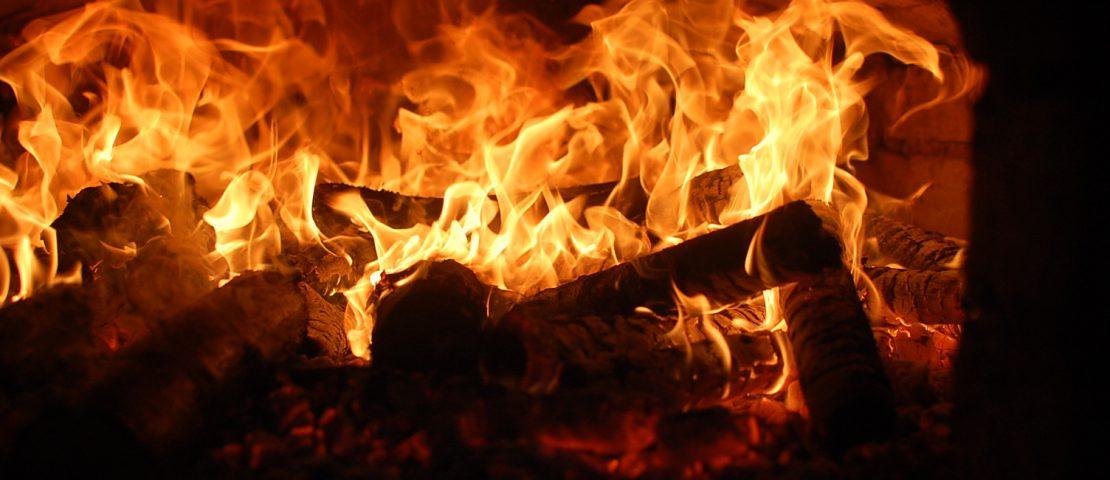
After kneading, we immediately began firing up the oven. “Fill the cavity full with firewood and let it burn down to embers,” our oven meistars had told us. So we created quite the inferno in the heart of our little, old, wooden house, which seems so…dangerous. This first time it took a while to figure out the best way to position the firewood and the flame, so it took three hours until the oven was ready for baking. Maybe next time it will go faster.
After the embers have died down, they need to be all raked out. We’re able to just rake them into the cooking hearth at the mouth of the bread oven and they continue to heat the channels within the masonry wall, thereby heating this and the adjoining room. (Those people long ago had it ALL figured out.) The remaining ash on the floor of the oven is then swept out as best as can be done.


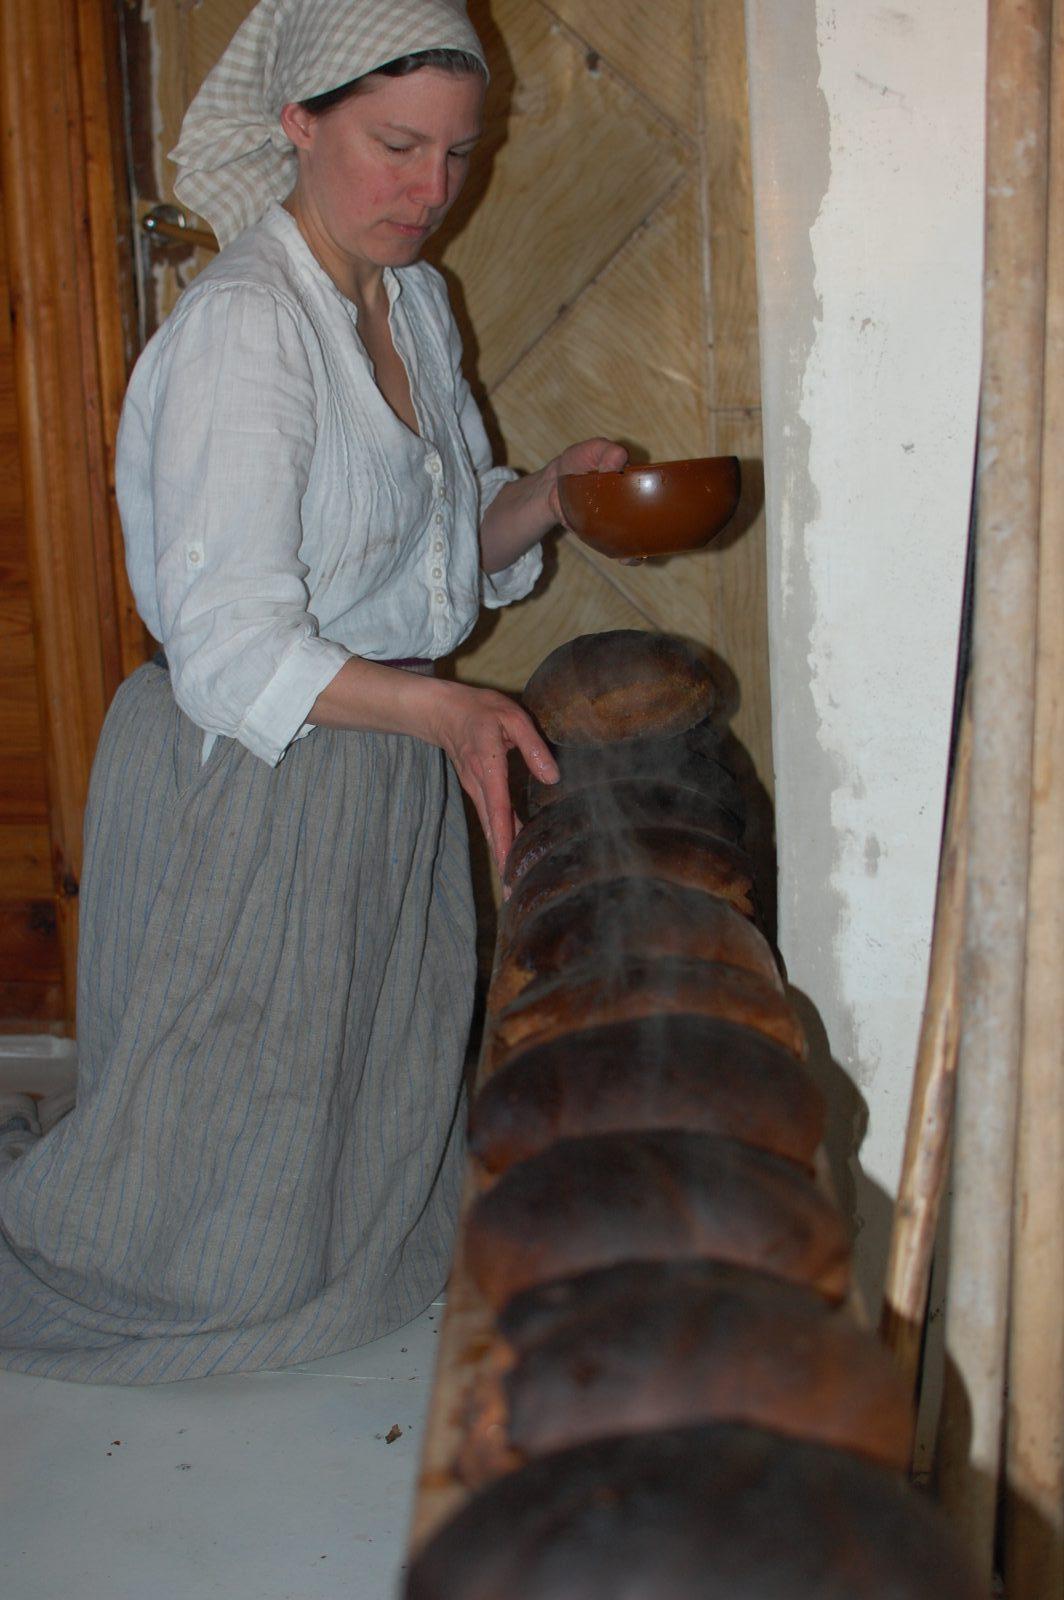
Next, I take a lize (wooden paddle with a long handle), place a few large, flat maple leaves on it, scoop a chunk of dough out of the abra, place it on top of the leaves, and quickly shape a loaf with wet hands. I push the paddle into the deepest part of the oven – about five feet in – and carefully slide the loaf off the paddle. Then, a flat metal cover is placed in front of the oven mouth to prevent the heat from escaping….and we wait about an hour or a little more.

Again, it turns out the traditional method of putting leaves under the loaves is absolutely brilliant. I was sold on it with the very first loaf. Who needs pans? They’re just another thing to wash. The leaves slide easily off the paddle and slide back onto the paddle when it’s time to take the bread out, they protect the bottom of the loaf from ashes and from burning, they burn slowly, are easy to peel off the loaf afterwards, and they’re not toxic. Latvians have been eating specks of burnt maple leaves on their bread crusts for hundreds of years.
I think we timed it just right – the loaves were baked through, although this particular one seen below was cut immediately upon being taken out of the oven, before it had a chance to “set”, so it doesn’t yet have the right crumb. The recipe and process will still need to be tweaked and it will take a while for the “correct” ratio of sourness to sweetness to develop. But I’m very happy with our first attempt at baking bread the traditional way! It really worked, and worked well.
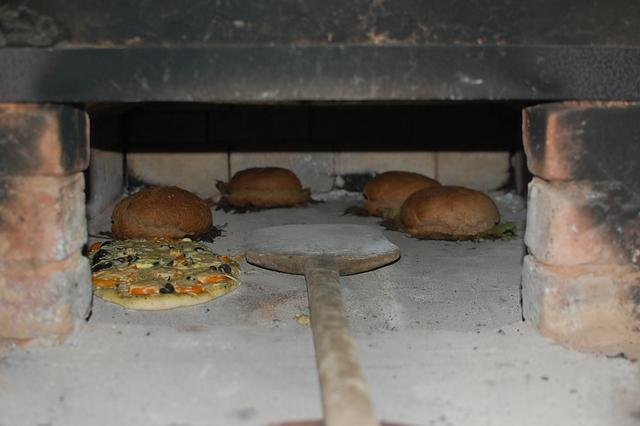
Seeing as the oven was already hot, we also baked a few pizzas (as seen above). They baked in about ten minutes, but the temperature could have been hotter for them. We also tried to make a few sweet breads with apples, but those got a little too much ash on them. Apparently, we still need to work on our paddle technique.
Next year: hard cider. We’ve got plenty of apples.
Saimniece maizi cepa
About this video…
“The housewife baked bread the whole day long”…in the evening she added music, and soon this little film was made.
Tabita and Amanda kneaded the dough.
Amanda baked the bread.
Amanda and Tabita sang and played music.
Toms and Laima took pictures.
Toms made the film.